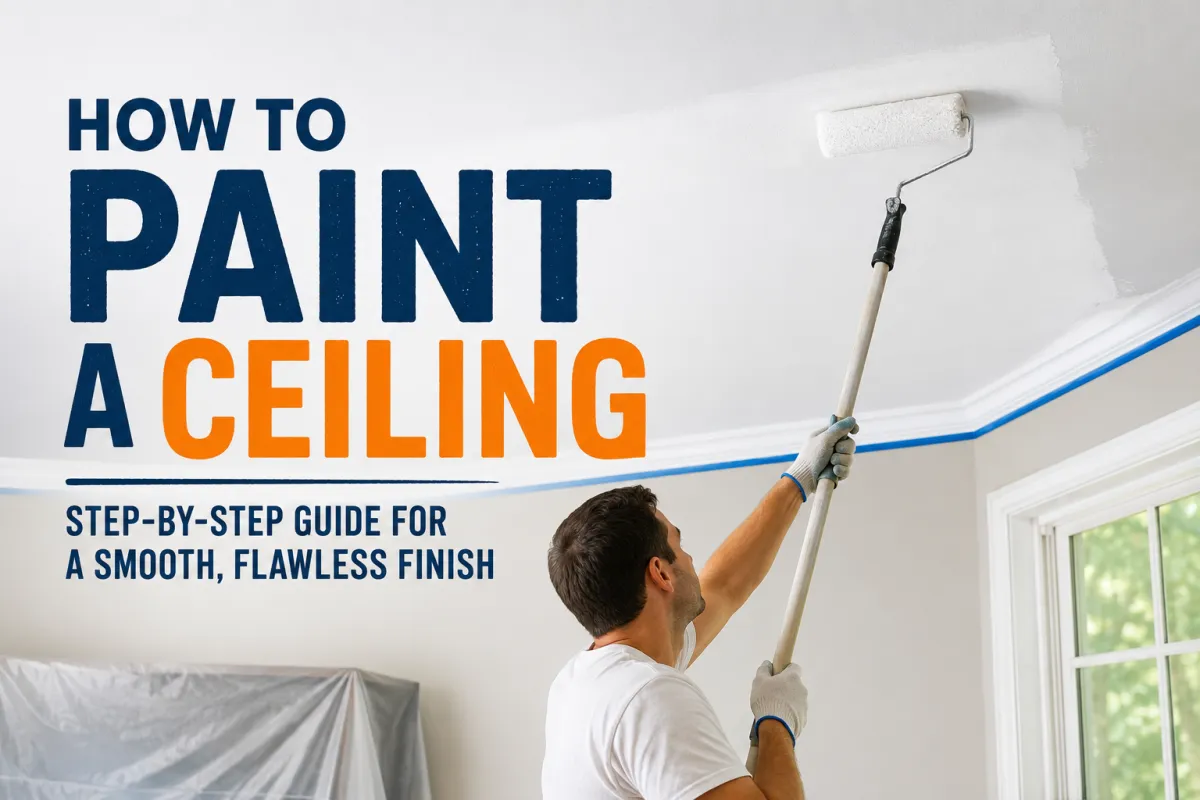
How to Paint a Ceiling

Painting a ceiling is one of those home improvement projects that many homeowners avoid. Looking up for hours, dealing with paint drips, and trying to avoid streaks can make the job seem intimidating. But here's the good news: painting a ceiling is actually one of the easiest ways to refresh a room and make it look cleaner, brighter, and more modern.
Whether you're updating a bedroom, living room, kitchen, bathroom, or hallway, learning how to paint a ceiling properly can save money and deliver professional-looking results.
In this guide, you'll learn everything you need to know about painting a ceiling, including preparation, tools, paint selection, application techniques, common mistakes, and expert tips for achieving a flawless finish.
Why Painting a Ceiling Matters
Many people focus on walls and forget about the ceiling. However, the ceiling is often called the "fifth wall" because it has a major impact on how a room looks and feels.
Over time, ceilings collect:
Dust
Smoke residue
Cooking grease
Water stains
Yellowing from age
Scuff marks and discoloration
A freshly painted ceiling instantly makes a room feel cleaner, brighter, and newer.
Think of it like washing the windows in your house. You don't realize how dirty they are until they're clean again.
What You'll Need to Paint a Ceiling
Before opening a paint can, gather all your supplies.
Essential Tools
Flat ceiling paint
Primer (if needed)
Paint tray
Paint tray liner
Extension pole
9-inch roller frame
Roller covers
Angled paintbrush
Painter's tape
Drop cloths
Step ladder
Putty knife
Sandpaper
Safety glasses
Cleaning cloths
Having everything ready before you start prevents unnecessary interruptions.
Choosing the Best Paint for a Ceiling
One of the biggest mistakes homeowners make is using wall paint on a ceiling.
Why Ceiling Paint Is Different
Ceiling paint is specifically formulated to:
Minimize drips
Reduce splatter
Hide imperfections
Provide even coverage
Create a flat finish
Most ceiling paints have a thicker consistency that helps them stay overhead without running.
Best Finish for Ceilings
For most rooms, a flat or matte finish works best.
Flat paint:
Hides imperfections
Reduces glare
Creates a smooth appearance
Minimizes visible roller marks
Glossy finishes tend to highlight every bump, patch, and uneven area.
Do You Need Primer Before Painting a Ceiling?
The answer depends on the condition of your ceiling.
Use Primer If:
The ceiling has water stains
You're painting new drywall
The existing paint is glossy
You're covering smoke damage
You're making a dramatic color change
Skip Primer If:
The ceiling is clean
The existing paint is in good condition
You're repainting with a similar color
Primer creates a consistent surface and improves paint adhesion.
Think of primer as the foundation of a house. Without a strong foundation, everything built on top becomes less reliable.
How to Prepare a Ceiling for Painting
Preparation often determines whether a paint job looks professional or amateur.
Step 1: Clear the Room
Remove as much furniture as possible.
For large items that cannot be moved:
Push them to the center
Cover them with plastic sheeting
Step 2: Protect the Floor
Use drop cloths throughout the room.
Even experienced painters create occasional splatters.
Step 3: Remove Dust and Cobwebs
Use:
A microfiber duster
Vacuum attachment
Soft broom
Dust prevents paint from adhering properly.
Step 4: Repair Damage
Inspect the ceiling carefully.
Look for:
Nail holes
Cracks
Dents
Peeling paint
Fill imperfections with spackle or joint compound.
Allow repairs to dry completely before sanding smooth.
Step 5: Clean the Surface
Kitchen and bathroom ceilings often collect grease and moisture.
Wash dirty ceilings using:
Mild detergent
Warm water
Soft sponge
Allow the ceiling to dry completely.
Should You Paint the Ceiling Before the Walls?
Absolutely.
Professional painters almost always paint ceilings first.
Why?
Because paint splatter is unavoidable.
Painting the ceiling first allows you to:
Cover accidental drips later
Work faster
Reduce masking requirements
The proper order is:
Ceiling
Walls
Trim
This sequence saves time and frustration.
How to Tape Off a Ceiling
Painter's tape creates clean lines and protects finished surfaces.
Apply tape:
Along the tops of walls
Around light fixtures
Around vents and ceiling fans
Press the tape firmly to prevent paint from bleeding underneath.
For best results, remove tape while the paint is still slightly damp.
How to Cut In Around the Edges
Cutting in means painting the edges before rolling the main ceiling surface.
Use a 2½-inch angled brush.
How to Cut In Properly
Dip only the first third of the brush into paint.
Tap off excess paint.
Paint a 2-to-3-inch border around the room.
Work carefully along wall lines.
Don't worry about perfection. The roller will blend into the cut-in area.
How to Paint a Ceiling With a Roller
Now comes the main event.
The roller does most of the work.
Step 1: Load the Roller Correctly
Dip the roller into the tray.
Roll it back and forth on the tray's ridges.
The goal is even coverage, not saturation.
An overloaded roller causes:
Drips
Splatter
Uneven texture
Step 2: Start in a Corner
Begin near one corner of the room.
Work in sections approximately 3 feet by 3 feet.
Smaller sections are easier to control.
Step 3: Use the W Pattern
Create a large W shape.
Then fill it in without lifting the roller.
The W pattern:
Distributes paint evenly
Prevents streaks
Reduces lap marks
Step 4: Maintain a Wet Edge
Always overlap slightly into the previous section.
This keeps the paint blending smoothly.
A wet edge is one of the most important secrets to a professional finish.
Step 5: Roll Toward Natural Light
Work toward the room's largest window.
Natural light helps reveal:
Missed spots
Thin areas
Uneven coverage
How Many Coats of Ceiling Paint Do You Need?
Most ceilings require two coats.
One coat may be enough when:
Refreshing white paint
Using high-quality paint
Covering a clean surface
Two coats are recommended when:
Covering stains
Painting new drywall
Changing colors
Covering repairs
Allow the first coat to dry completely before applying the second.
How to Avoid Roller Marks on a Ceiling
Roller marks are one of the most common complaints after painting.
Fortunately, they are easy to prevent.
Use Quality Paint
Premium ceiling paint levels better as it dries.
Keep a Wet Edge
Never allow sections to dry before blending them.
Avoid Excess Pressure
Let the roller do the work.
Pressing harder does not improve coverage.
It usually creates streaks.
Don't Re-Roll Drying Paint
Once paint begins drying, leave it alone.
Going back over partially dried paint often causes visible marks.
How to Paint a Textured Ceiling
Textured ceilings require a slightly different approach.
Use a Thicker Roller Nap
Choose:
½-inch nap for light texture
¾-inch nap for heavy texture
The longer fibers reach into grooves and crevices.
Apply Paint Gently
Avoid excessive pressure.
Heavy pressure can damage texture and pull material off the ceiling.
Work Slowly
Textured surfaces absorb more paint and require more attention to detail.
How to Paint a High Ceiling
High ceilings add complexity but are still manageable.
Use an Extension Pole
A quality extension pole:
Improves reach
Reduces ladder use
Increases safety
Use Stable Equipment
Never stretch excessively from a ladder.
Move the ladder as needed.
Safety should always come first.
Work in Manageable Sections
Large ceilings can feel overwhelming.
Break the project into smaller areas.
Progress becomes easier to track.
How to Paint a Bathroom Ceiling
Bathrooms face constant moisture and humidity.
Because of this, they need special consideration.
Use Moisture-Resistant Paint
Choose paint designed for:
Bathrooms
Kitchens
High-humidity environments
Address Mold Issues First
Paint cannot solve mold problems.
Remove mold completely before painting.
Prime Water Stains
Stains often bleed through paint if not sealed properly.
Use a stain-blocking primer first.
Can You Paint a Ceiling a Color Other Than White?
Absolutely.
While white remains popular, colored ceilings have become increasingly common.
Light Colors
Soft colors can:
Add warmth
Create depth
Make a room feel unique
Dark Colors
Dark ceilings can:
Add drama
Create intimacy
Make large rooms feel cozier
Color Drenching
One modern trend is painting the ceiling and walls the same color.
This creates a seamless, sophisticated appearance.
Think of it like wrapping a room in a single layer of color.
Common Ceiling Painting Mistakes to Avoid
Even experienced DIYers occasionally make mistakes.
Here are the most common ones:
Skipping Surface Preparation
Dirty surfaces lead to poor adhesion.
Using the Wrong Roller Cover
Incorrect nap sizes create uneven coverage.
Overloading the Roller
Too much paint causes drips and splatter.
Ignoring Primer
Stains often bleed through fresh paint.
Painting Too Slowly
Allowing sections to dry creates visible lap marks.
Using Glossy Paint
Gloss emphasizes imperfections.
Flat paint hides them.
When Should You Hire a Professional Painter?
DIY ceiling painting works well for many homeowners.
However, some situations are better left to professionals.
Consider hiring a painter if:
Ceilings exceed 12 feet
Extensive repairs are needed
Water damage is severe
Texture removal is required
Safety concerns exist
Sometimes paying for expertise is cheaper than correcting mistakes later.
Conclusion
Painting a ceiling may seem intimidating at first, but with the right preparation, tools, and technique, it becomes a straightforward project that dramatically improves the appearance of a room.
Start by cleaning and preparing the surface, choose a quality ceiling paint, use the proper roller nap, and work in small sections while maintaining a wet edge. Whether you're refreshing a white ceiling or experimenting with a bold color, patience and attention to detail will reward you with a smooth, professional-looking finish.
Remember, the ceiling is often the most overlooked surface in a room, but a freshly painted ceiling can transform the entire space. Take your time, follow the steps carefully, and you'll achieve results that look like they were done by a professional.
Frequently Asked Questions
1. How long should I wait between coats of ceiling paint?
Most ceiling paints require 2 to 4 hours of drying time between coats, although humidity and temperature can affect drying speed. Always check the manufacturer's recommendations.
2. Can I paint a ceiling without using painter's tape?
Yes. Many professional painters cut in freehand using an angled brush. However, painter's tape can help beginners achieve cleaner lines.
3. What is the easiest way to paint a ceiling without making a mess?
Use a quality ceiling paint, avoid overloading the roller, work slowly, and cover floors and furniture with drop cloths before starting.
4. Why does my freshly painted ceiling look patchy?
Patchiness usually occurs due to uneven coverage, missed spots, insufficient paint, or skipping primer over repaired areas and stains.
5. How often should a ceiling be repainted?
Most ceilings only need repainting every 7 to 10 years. Kitchens, bathrooms, and smoking environments may require more frequent repainting.